Understanding the fundamentals of SwiftUI for iOS development pt.1
Experienced iOS and React Native Developer with 10+ Years of Expertise - Available for New Opportunities. Connect Now!
I. Introduction
Since its introduction in 2019, SwiftUI has rapidly gained popularity among iOS developers for its simplicity and ease of use in creating user interfaces. SwiftUI is a declarative framework for building user interfaces for iOS, macOS, watchOS, and tvOS. SwiftUI uses a modern syntax and provides a suite of powerful tools and features that allow developers to create complex, responsive, and interactive UIs with ease.
II. Getting Started with SwiftUI
A. Installing Xcode and creating a new project
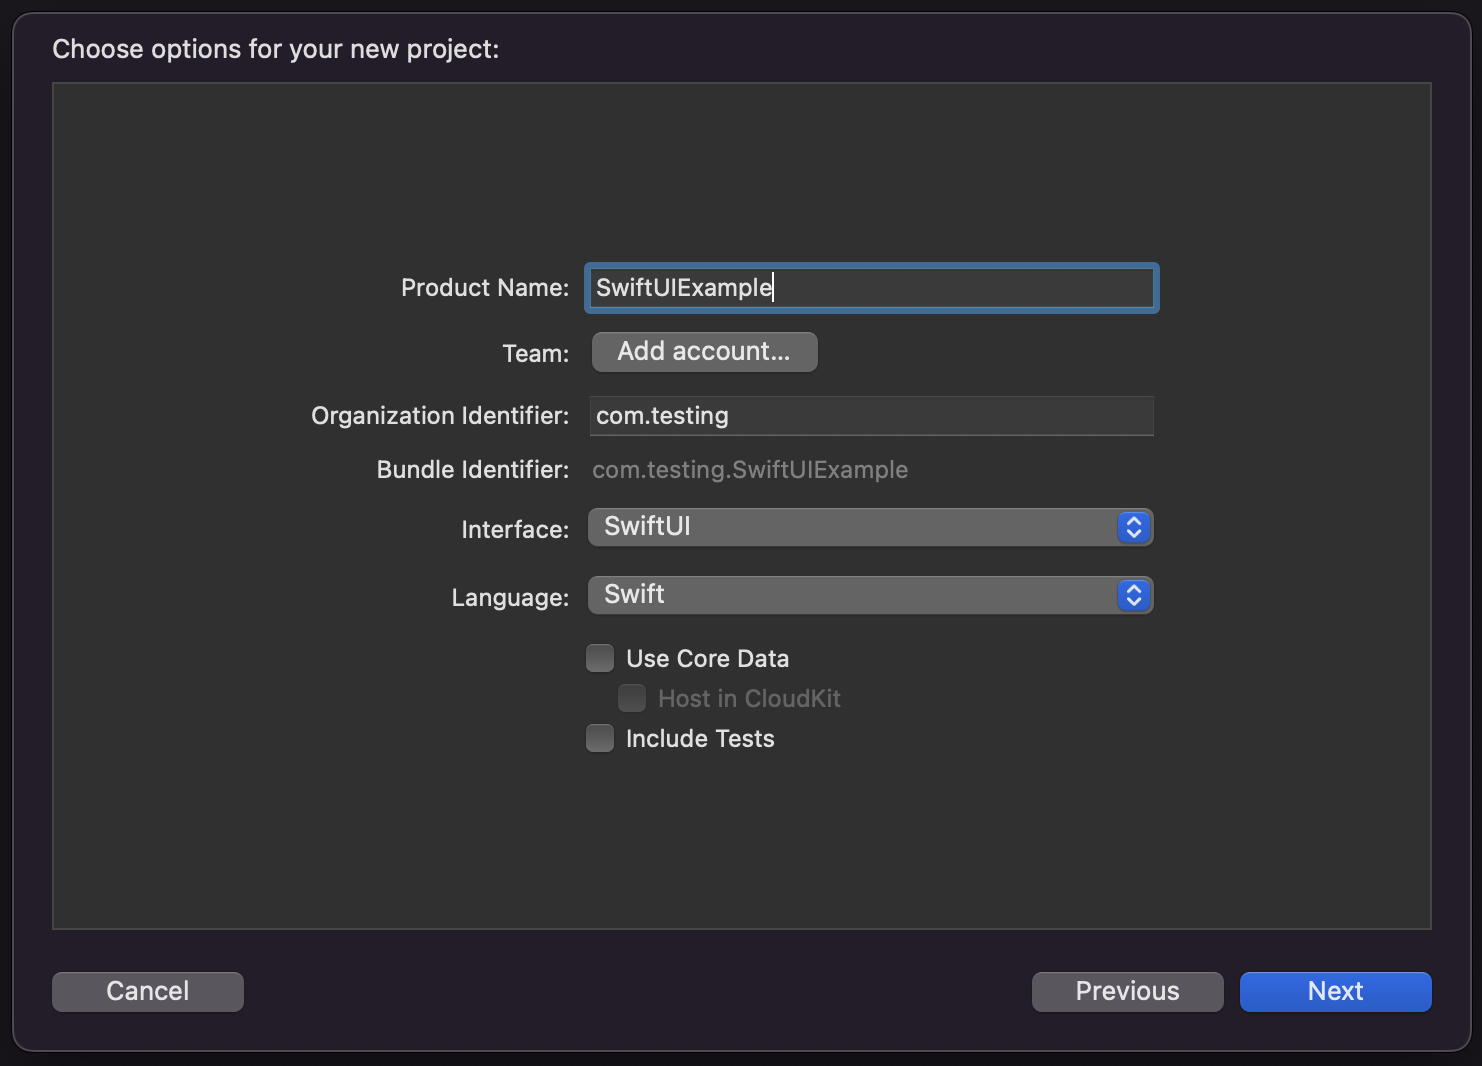
To get started with SwiftUI, you'll need to have Xcode installed on your Mac. Xcode is available for free on the Mac App Store. Once you have Xcode installed, you can create a new project by following these steps:
Open Xcode and click on "Create a new Xcode project"
Choose "App" under the "iOS" tab, and then press "Next"
Give your app a name, and then choose "SwiftUI" in the interface.
Click "Create"
B. Introduction to the SwiftUI framework and its main components
SwiftUI provides a range of built-in components and controls that you can use to create your app's UI, such as Text, Button, and Image. Here's an overview of some of the main components of SwiftUI:
Views: Views are the building blocks of a SwiftUI app. Views can represent anything from simple text labels to complex custom components.
Containers: Containers are views that can hold other views. Examples of containers include
VStack,HStack, andZStack.Modifiers: Modifiers are used to modify the appearance and behavior of views. You can apply modifiers to views using the dot syntax.
C. Creating a basic user interface using SwiftUI's declarative syntax
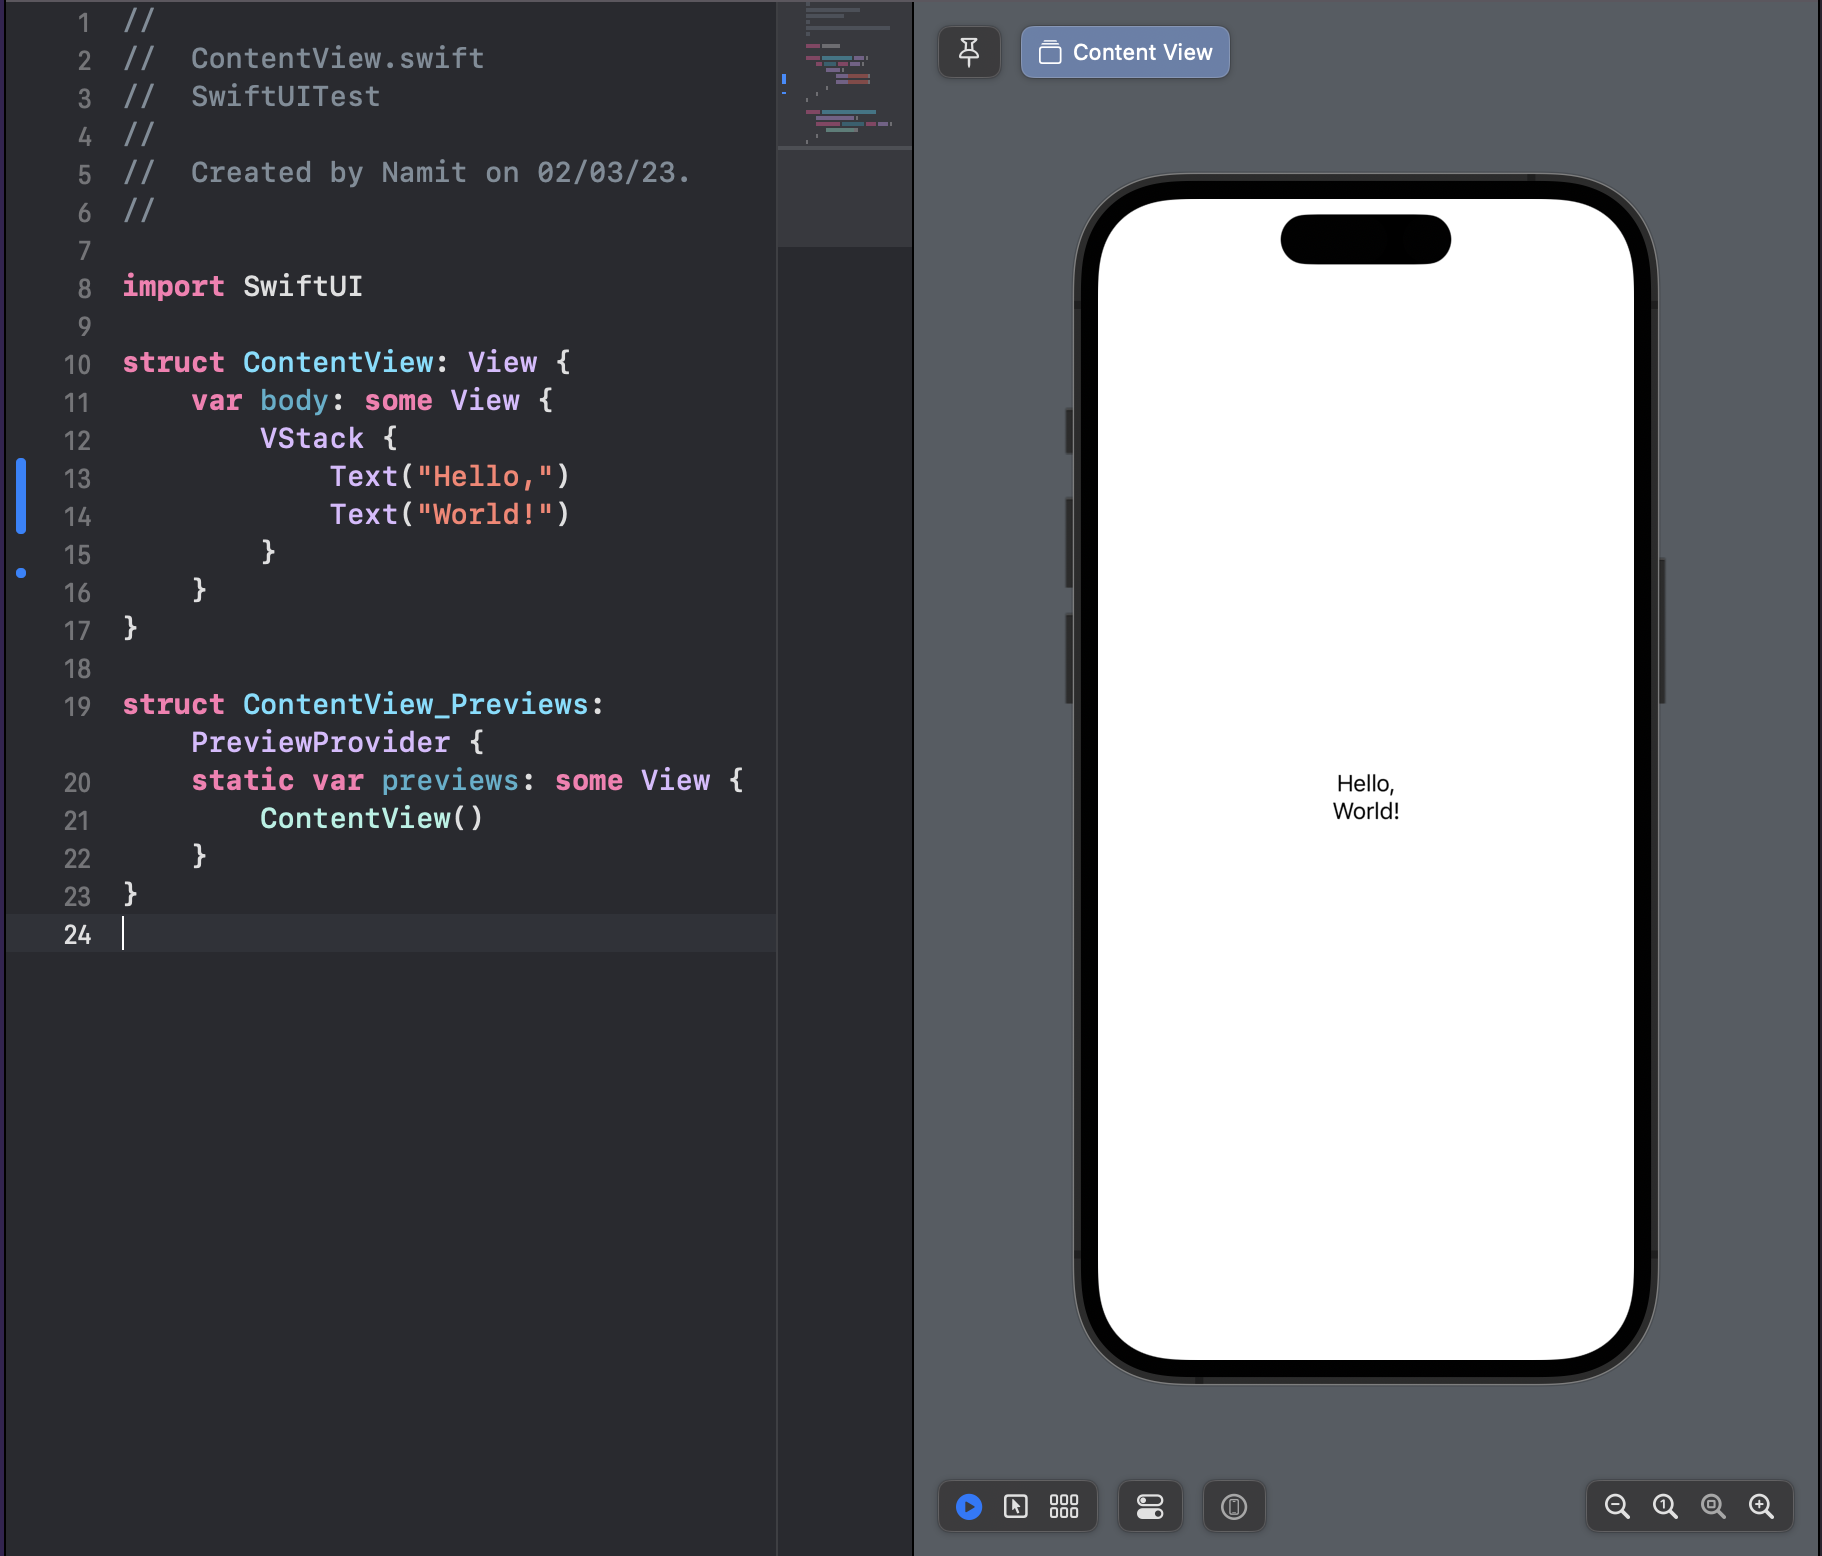
Let's create a simple user interface for a weather app using SwiftUI's declarative syntax. Start by opening the ContentView.swift file that was created when you created your new project. Replace the contents of the file with the following code:
struct ContentView: View {
    var body: some View {
        VStack {
            Text("Current Weather")
                .font(.largeTitle)
            Image(systemName: "cloud.sun.fill")
                .resizable()
                .scaledToFit()
                .frame(width: 200, height: 200)
            Text("23°C")
                .font(.title)
        }
    }
}

struct ContentView_Previews: PreviewProvider {
    static var previews: some View {
        ContentView()
    }
}
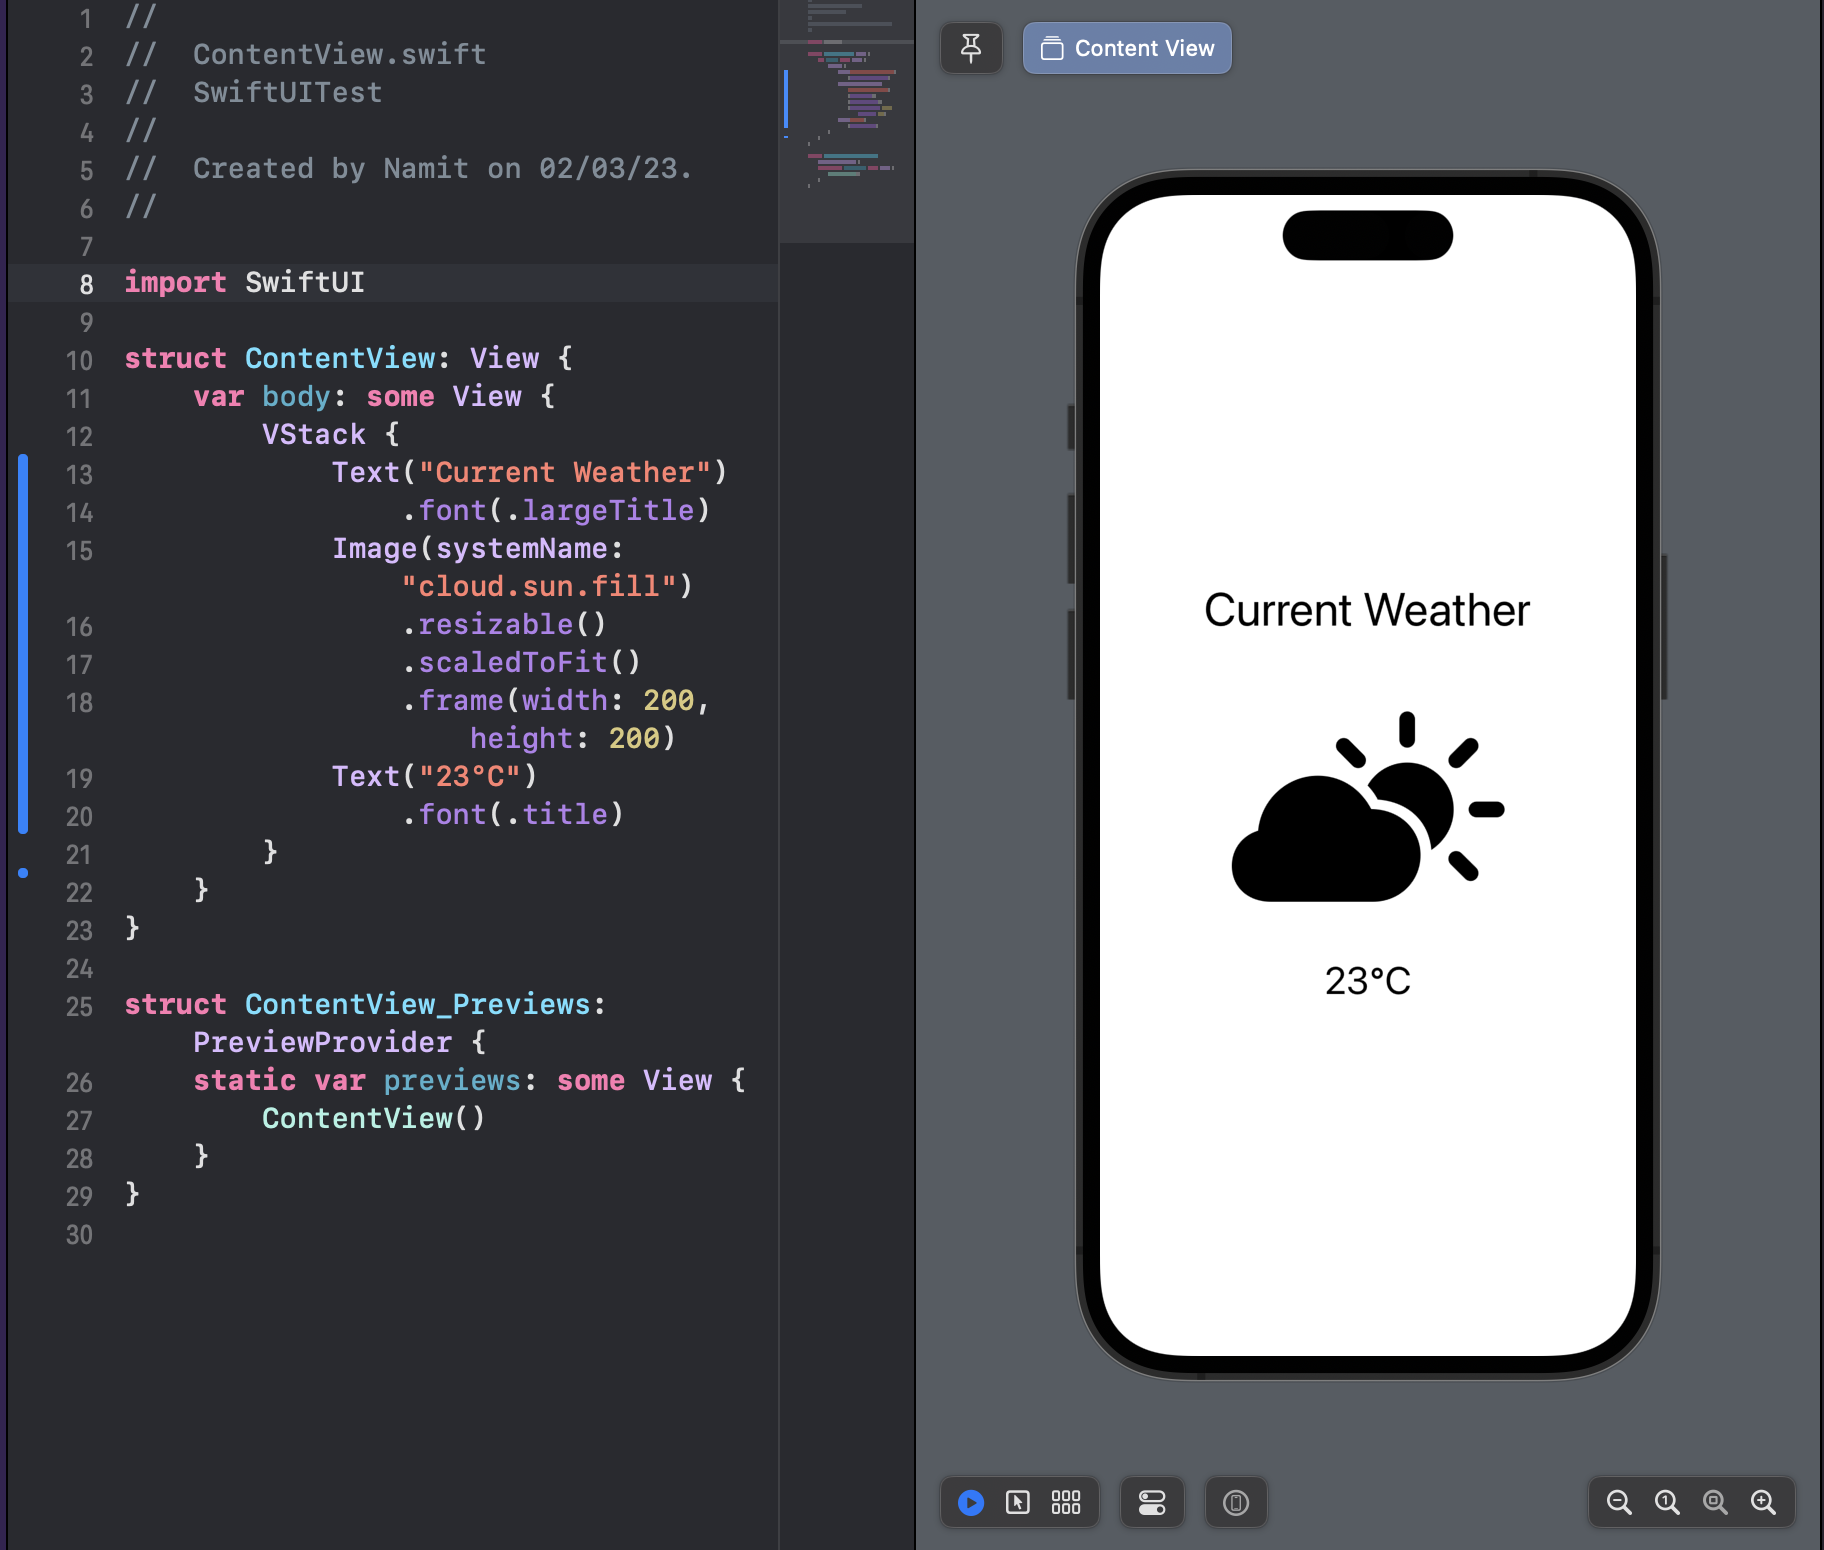
This code creates a simple user interface that displays the current weather, including a large title, an image of a sun-filled cloud, and the current temperature. Notice how we use the VStack container to hold the different views, and we use modifiers to customize their appearance and behavior.
To see the user interface in action, select "Preview" from Xcode's toolbar, and you should see a preview of your app's UI on the right-hand side of the screen.
III. Building Layouts with SwiftUI
A. Introduction to stacks and how they work in SwiftUI
Stacks are used to arrange views vertically or horizontally. There are three types of stacks available in SwiftUI: VStack, HStack, and ZStack. VStack and HStack arrange views vertically and horizontally, respectively, while ZStack arranges views in a depth-based order.
B. Creating horizontal and vertical stacks
Let's create a simple horizontal stack that displays two text views side-by-side. Add the following code to your ContentView:
HStack {
    Text("Hello,")
    Text("World!")
}
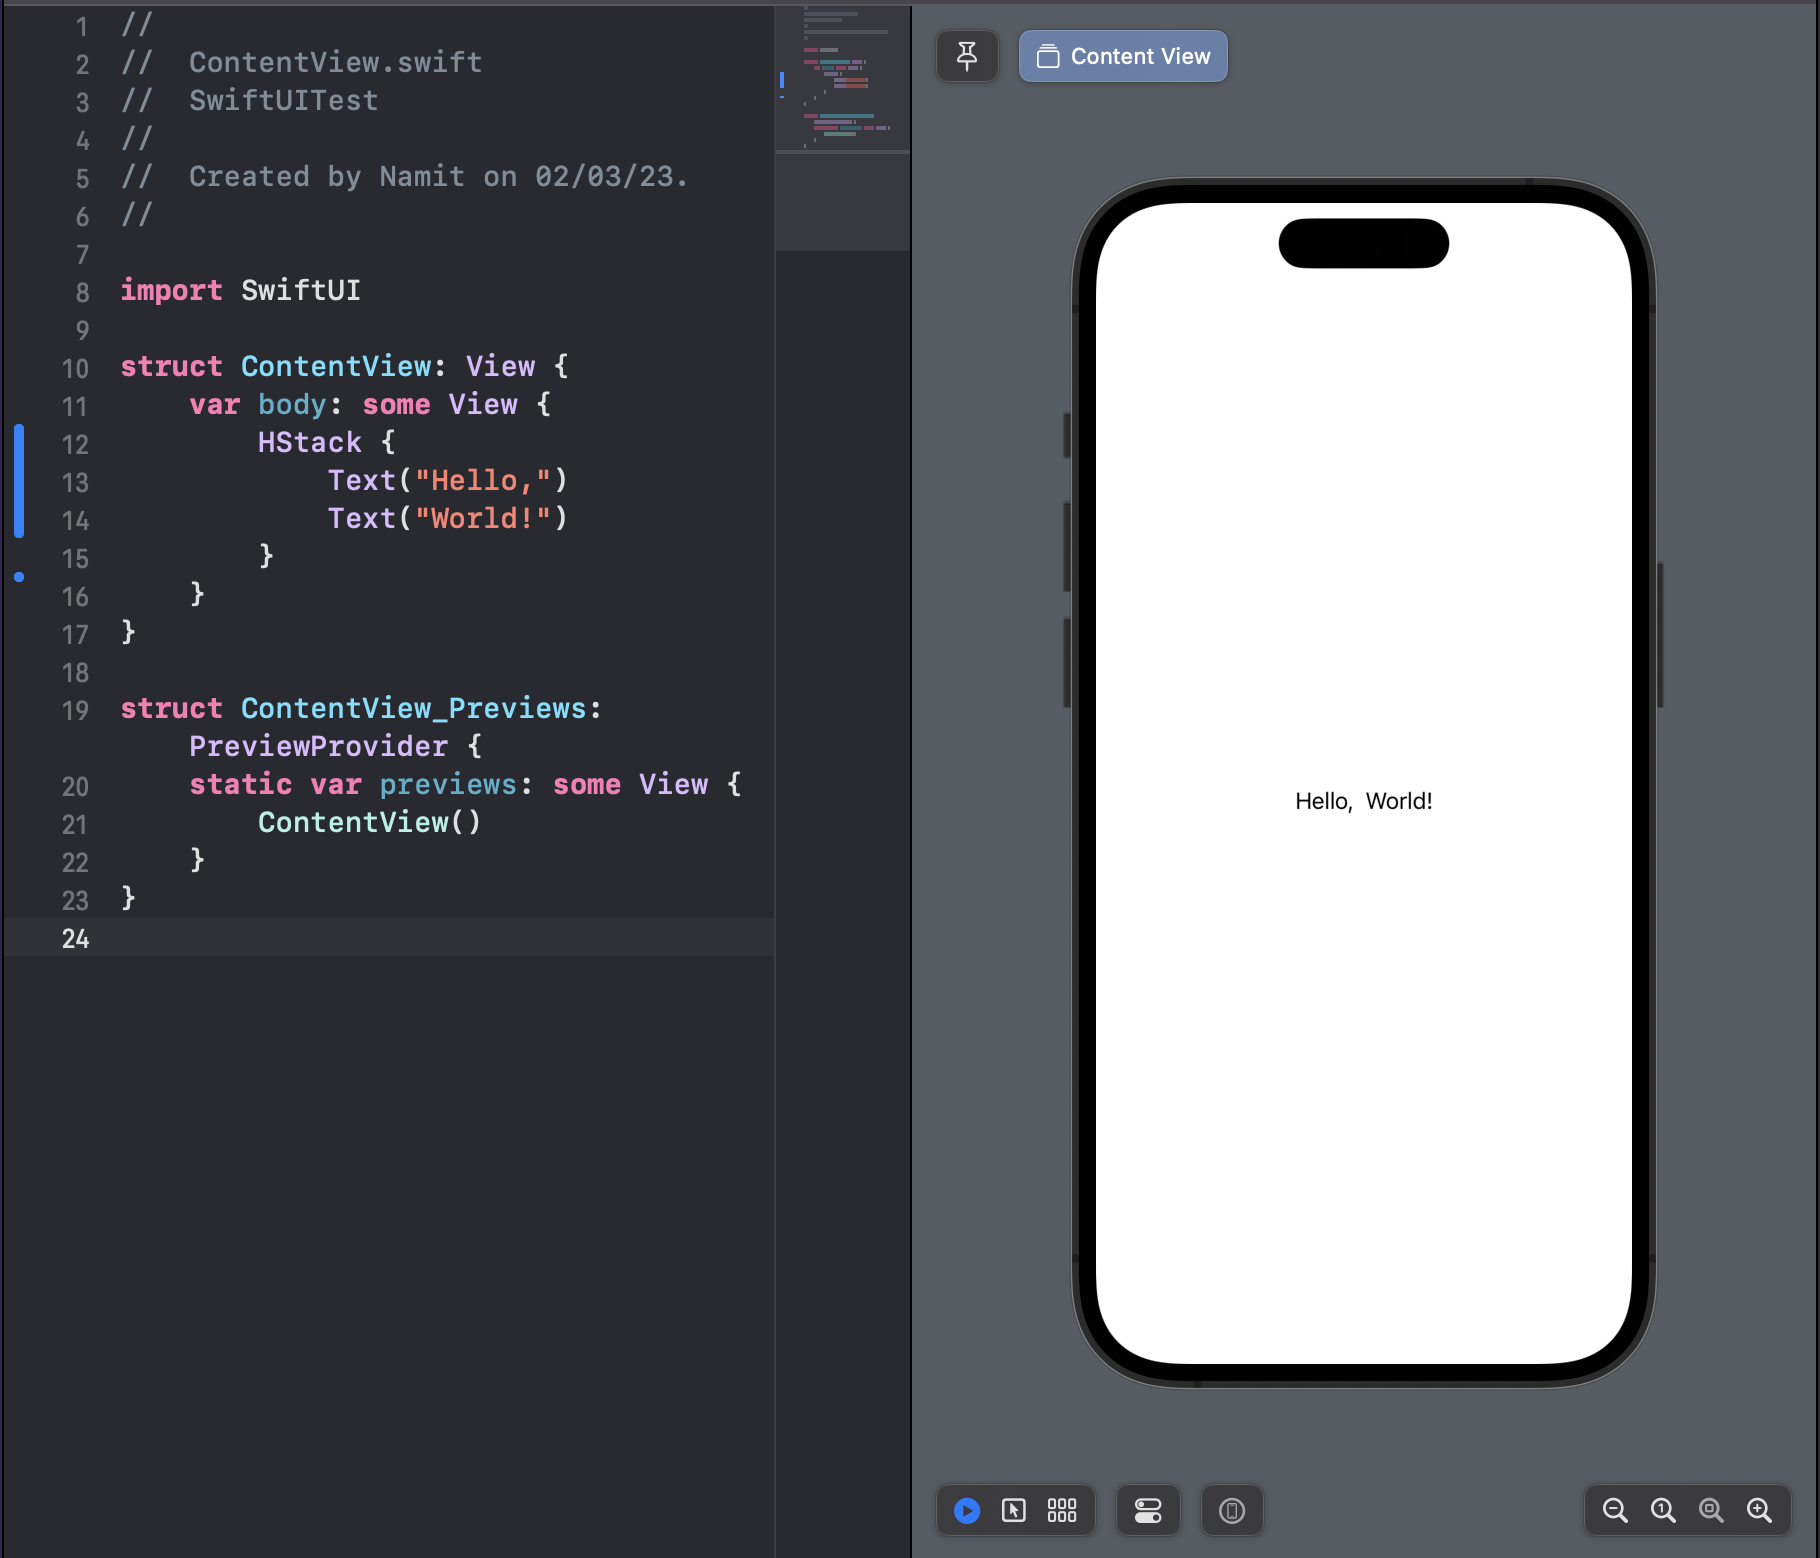
This code creates a horizontal stack using the HStack container, and places two text views side-by-side within it.
To create a vertical stack instead, replace HStack with VStack:
VStack {
    Text("Hello,")
    Text("World!")
}
C. Understanding the different types of spacing in SwiftUI
There are several ways to add spacing between views. You can add padding to views using the padding modifier, which adds space around the edges of a view. You can also add spacing between views within a stack using the spacing modifier.
VStack(spacing: 20) {
    Text("Hello,")
    Text("World!")
}
.padding()
This code creates a vertical stack with 20 points of spacing between the two text views and adds padding around the edges of the stack.
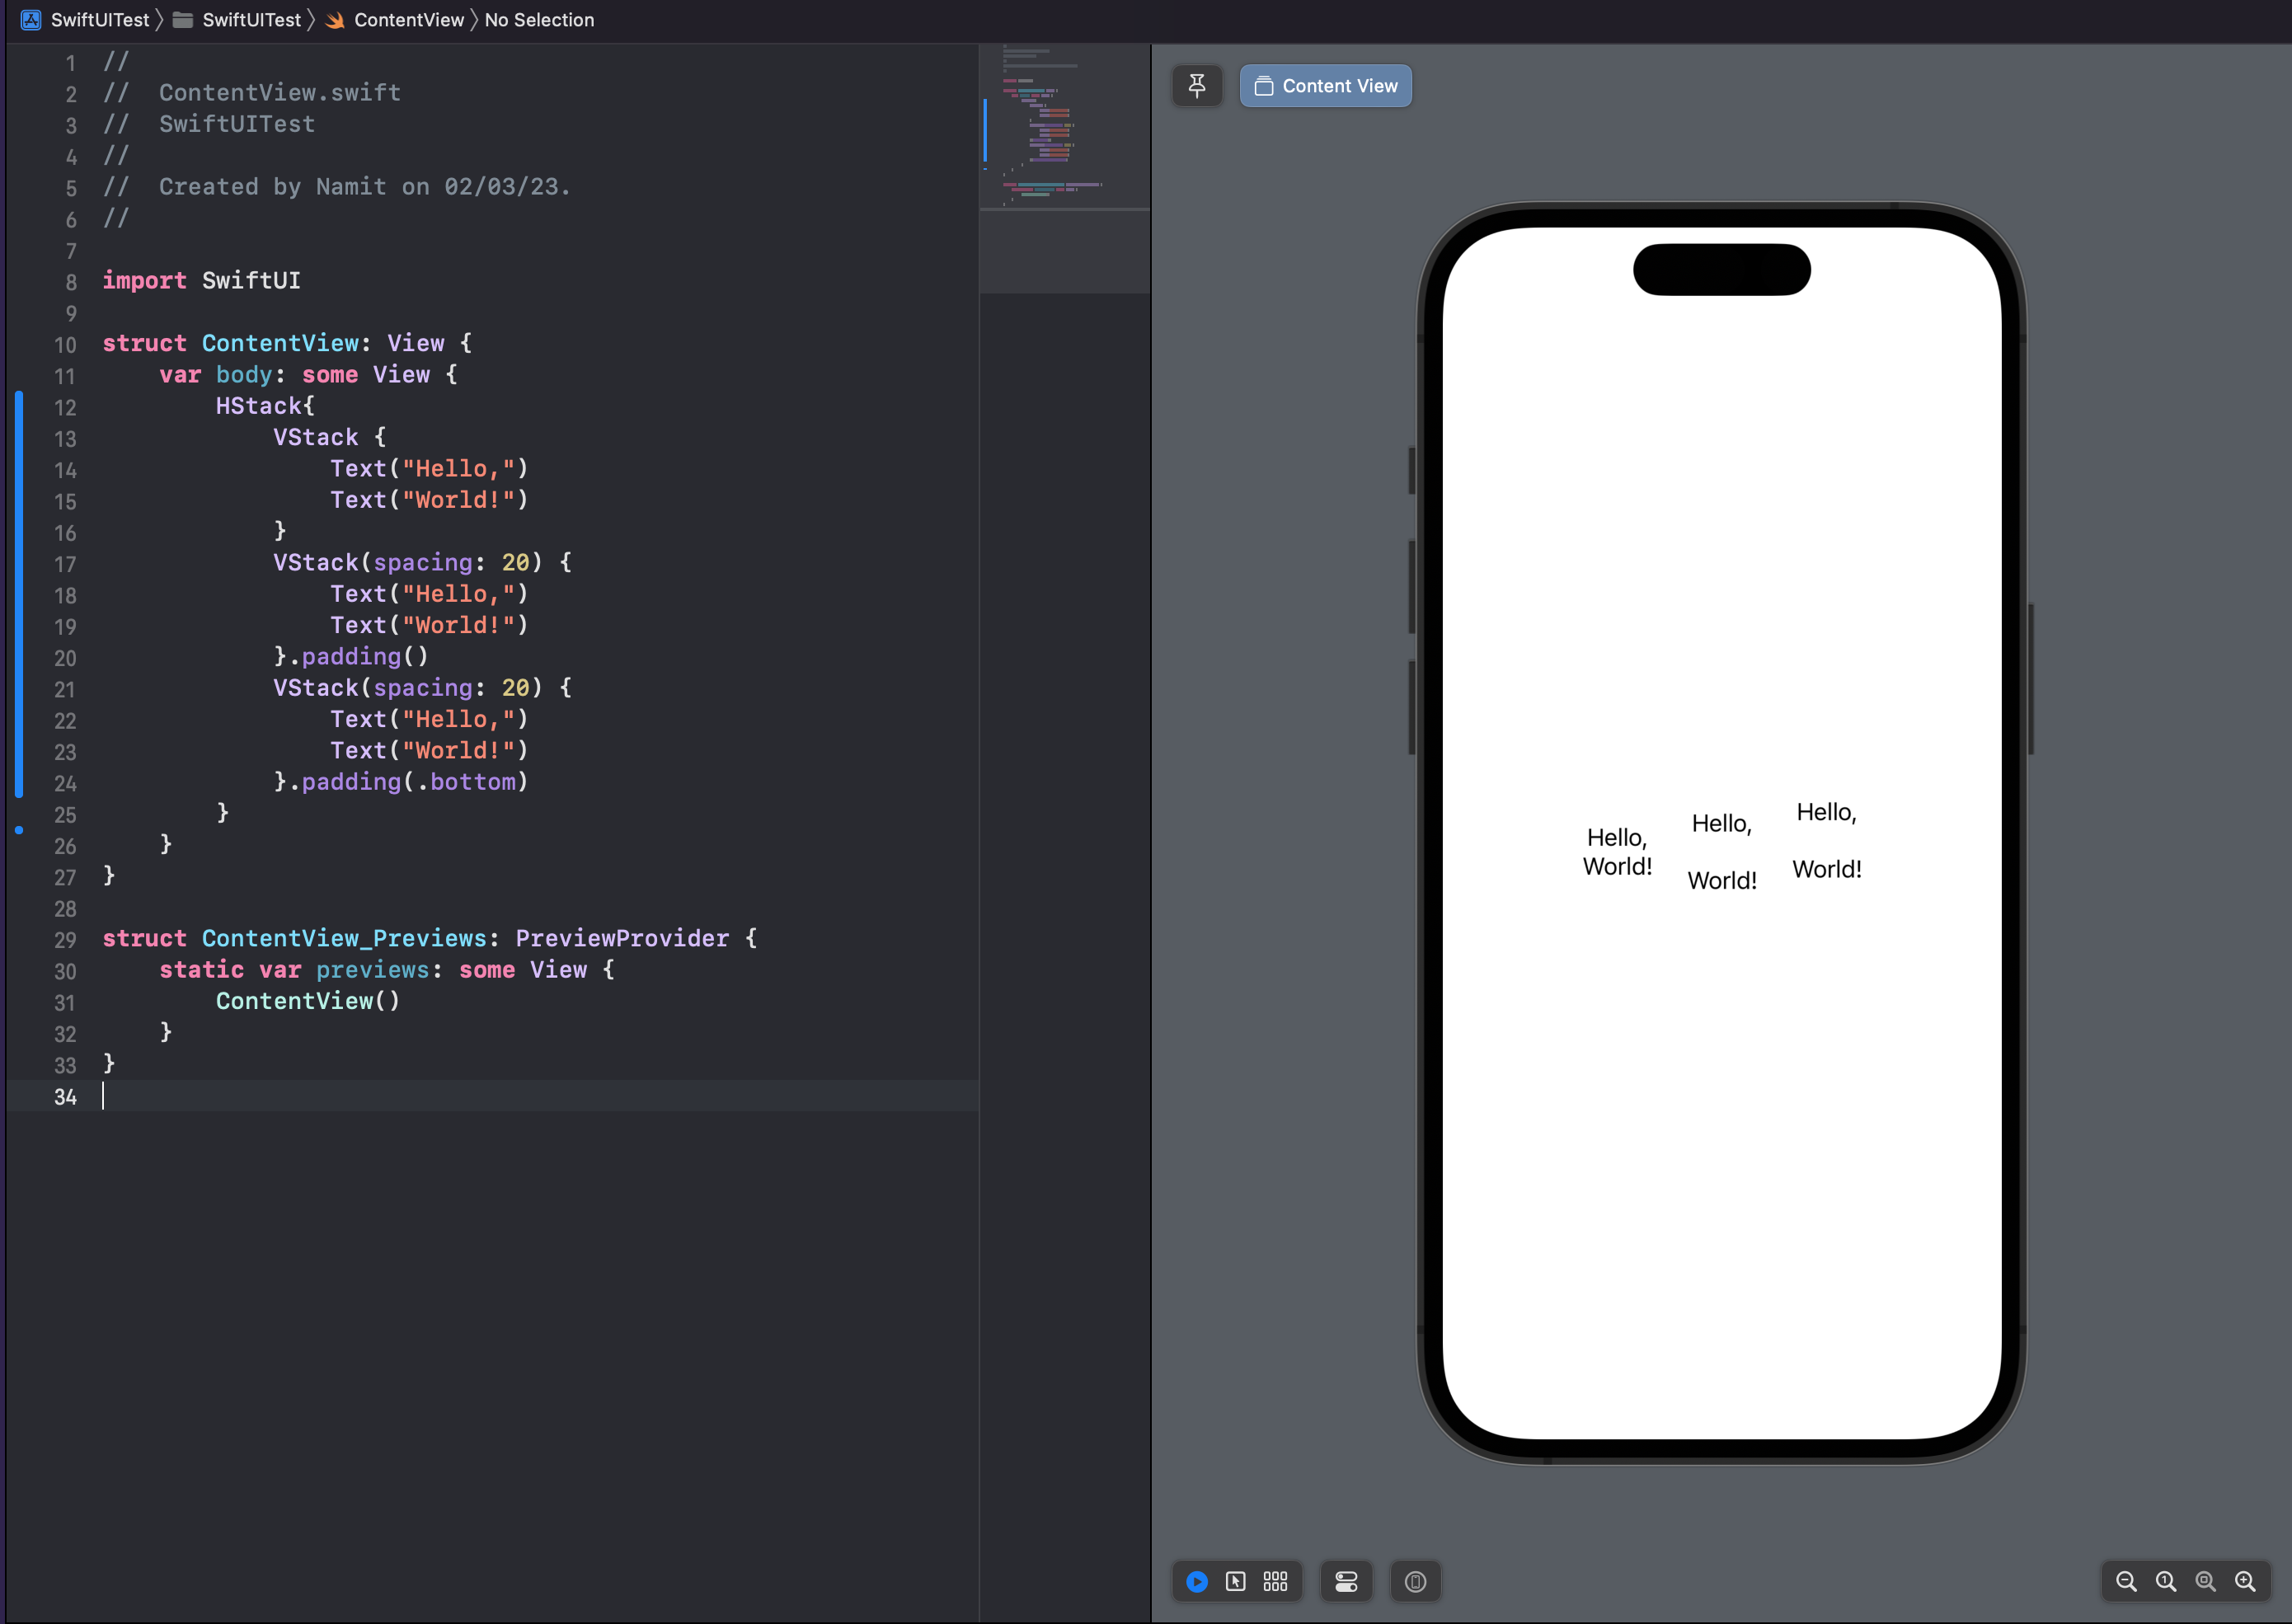
D. Building complex layouts with nested stacks
You can create complex layouts by nesting stacks within each other. For example, to create a layout with two rows of text views, you could use a VStack containing two HStacks:
VStack {
    HStack {
        Text("Hello,")
        Text("World!")
    }
    HStack {
        Text("How")
        Text("are")
        Text("you?")
    }
}
This code creates a vertical stack containing two horizontal stacks, each containing multiple text views. By nesting stacks within each other, you can create complex and flexible layouts with ease.
You can refer to the above screenshot for an example of similar nested stacks.
IV. Working with User Input in SwiftUI
A. Introduction to user input controls in SwiftUI
User input controls are an essential part of any iOS application, and SwiftUI provides a range of controls that you can use to capture user input. These include buttons, text fields, sliders, pickers, and more.
B. Creating buttons and handling user interactions
Buttons are one of the simplest user input controls and you can create a button with just a few lines of code. Let's create a button that displays an alert when the user taps on it:
struct ContentView: View {
    @State private var showingAlert = false

    var body: some View {
        Button("Show Alert") {
            self.showingAlert = true
        }
        .alert(isPresented: $showingAlert) {
            Alert(title: Text("Hello SwiftUI!"), message: Text("This is an alert."), dismissButton: .default(Text("OK")))
        }
    }
}
This code creates a button that displays an alert when tapped. The @State property wrapper is used to store the state of the showingAlert variable, which is initially set to false. When the button is tapped, the showingAlert variable is set to true, which triggers the display of the alert.
C. Working with text input fields
Text fields allow the user to enter text input, and you can create a text field in SwiftUI using the TextField control. Let's create a text field that allows the user to enter their name:
swiftCopy codestruct ContentView: View {
    @State private var name = ""

    var body: some View {
        TextField("Enter your name", text: $name)
            .textFieldStyle(RoundedBorderTextFieldStyle())
            .padding()
    }
}
This code creates a text field that displays a rounded border and some padding. The @State property wrapper is used to store the state of the name variable, which is initially set to an empty string. When the user enters text into the text field, the value of the name variable is updated automatically.

D. Understanding the concept of state and how it relates to user input
In SwiftUI, State is a fundamental concept that allows you to store and manage the state of your application. When the state of your application changes, SwiftUI automatically updates the user interface to reflect the new state.
Let's take a look at an example that demonstrates how state works in SwiftUI. Suppose we have a simple application that displays a counter, and we want to increment the counter when the user taps on a button:
struct ContentView: View {
    @State private var count = 0

    var body: some View {
        VStack {
            Text("\(count)")
                .font(.largeTitle)
            Button("Increment") {
                self.count += 1
            }
        }
    }
}
This code creates a vertical stack containing a text view that displays the value of the count variable, and a button that increments the count variable when tapped. The @State property wrapper is used to store the state of the count variable, which is initially set to 0. When the user taps on the button, the value of the count variable is updated, which triggers the automatic update of the text view to reflect the new state.
This example demonstrates the power and simplicity of SwiftUI's declarative syntax and state management system. By separating the state of your application from the user interface, you can create flexible and responsive interfaces with ease.

In part 2 I have covered Customizing Views, Animations and Transitions.
Thanks for checking this article, let me know if you have any queries in the comments.